
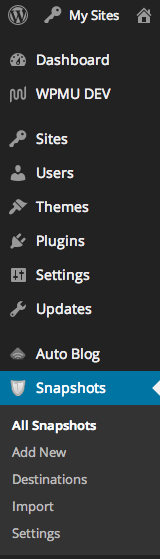
 Due to recent hardisk failure of the server, Corporate Web Development Unit is now providing a tool for self backup for the entire website. We could not automate this backup procedure for all PTJ & faculties due to hardware constraints. This feature will only be available to Super Admin of the website. To access this feature, go to Network Admin Dashboard > Snapshot.
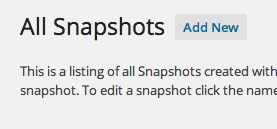
Then, click on Add New button
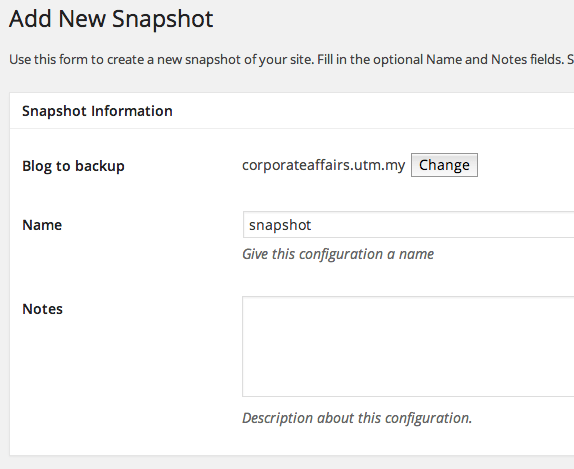
Now, you can choose to backup the whole network of sites or individual website. By default, this will backup the whole network.
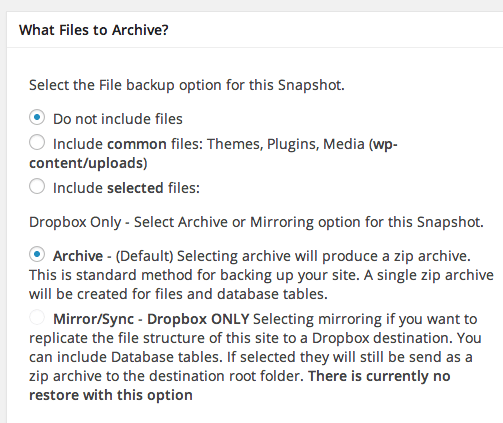
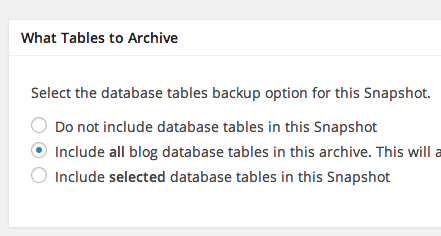
Now choose what to backup. “Do not include files” will backup only database. “Include common files” will backup both files & database. To backup only certain files, choose “Include selected files”. If you have Dropbox, and want to backup into your Dropbox, there are extra options. Choose Archive to zip the whole website and send to your Dropbox. Choose mirror/sync to send current structure of files in your website to your Dropbox, which you can browse them later on. Our recommendation, “Include common files”, & “Archive” (if you are using Dropbox).
Leave this one as is
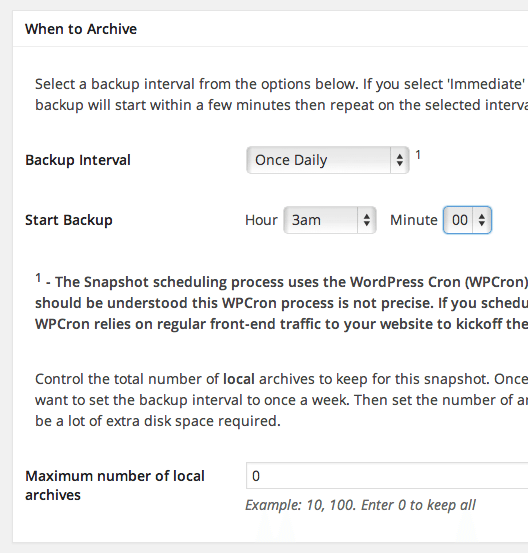
Now on when to backup. Please set as below, and please set the time at midnight when the server traffic is low. Setting once daily will also reduce the server load.
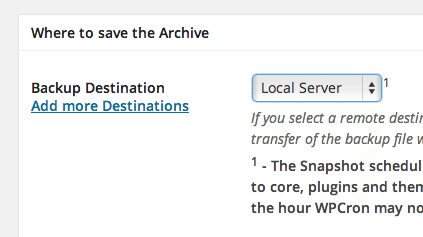
To set the place for backup, click on “Add more destination”. We don’t want to backup to local storage since that is where the server is, and when disaster strike again, your backup will be useless.
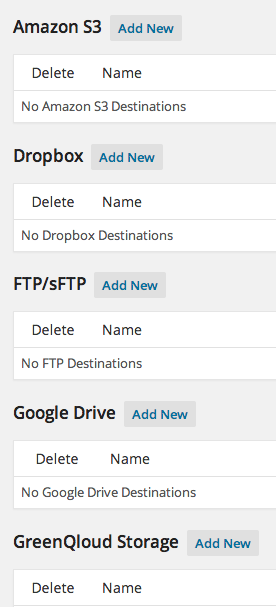
Choose any of the place to add your own backup storage
Now, let say you don’t have any of the storage above, just leave the setting to local server, I’ll show you how to download the backup after the process is done. Finally, click on this button

Now, when the backup is finished, it will show like this:
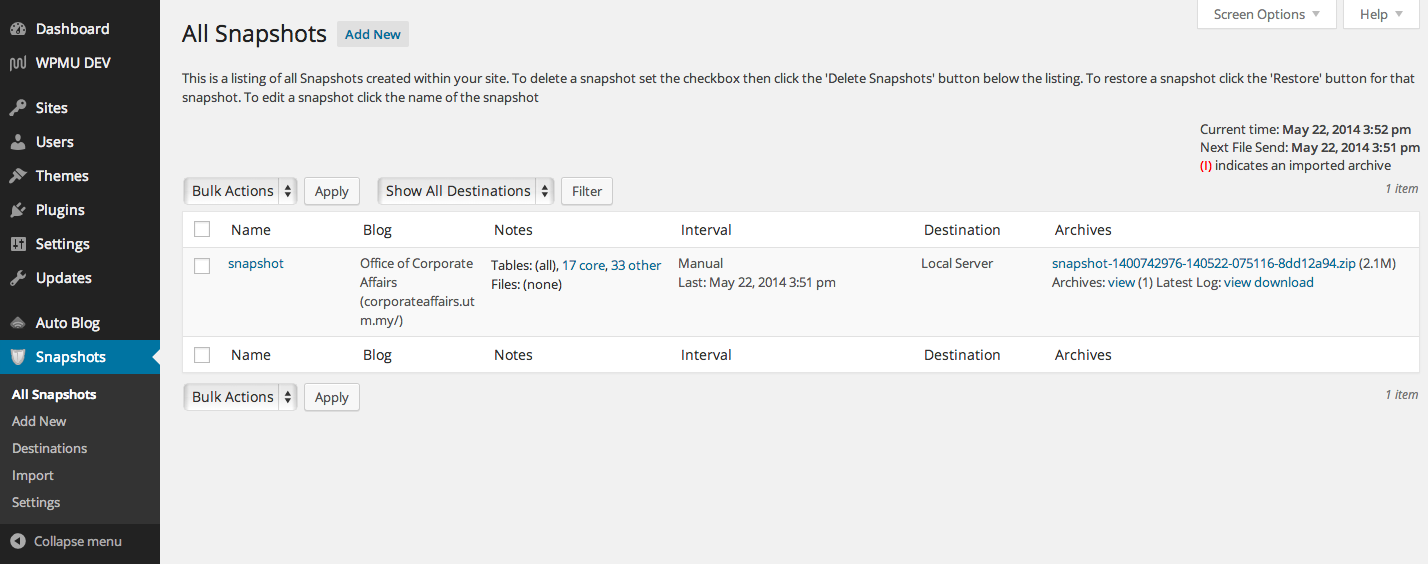
To download, click the link as below:
You are now having the latest backup of your sites. In case of anything happen, you can restore your website by your own 🙂
To restore backup, please read In WordPress: Restore Your Site Using Snapshot